Categories
Company Info
Inspiration & More
Woodburned Beads Tutorial
Tutorial by Jeanne-Marie Mellor
|
|
|
The Bare Necessities for Making Woodburned Beads:
|
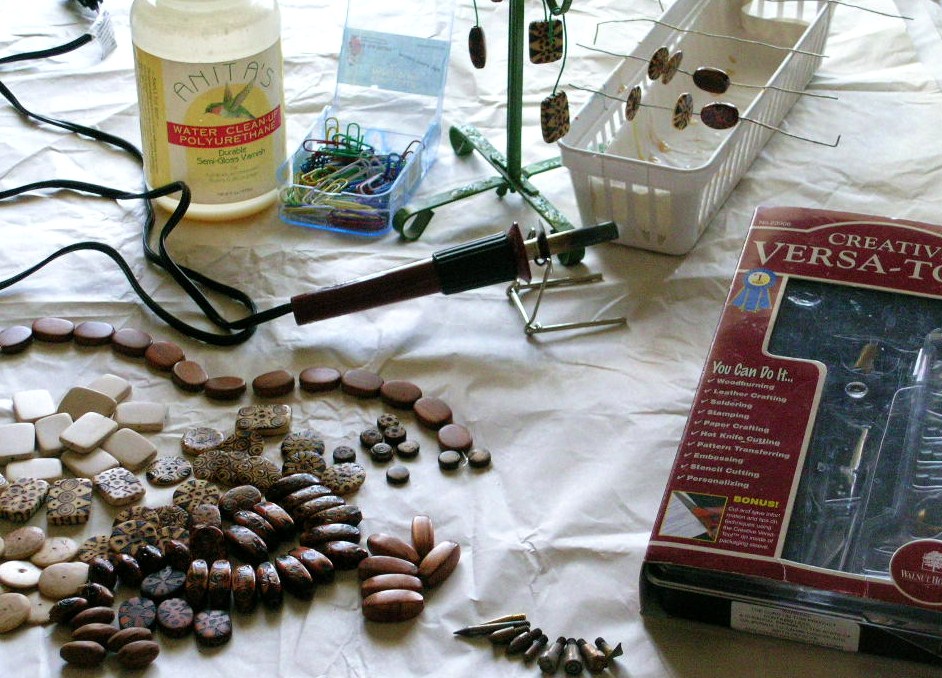 |
| Jeanne-Marie says, "I have always felt a profound love for nature and the gifts of the earth but it was not until recently that I embarked on a journey of deep appreciation for wood beads. It all started when I saw the new wood beads at Happy Mango Beads. I suddenly had a flash of their potential for woodburned designs and there the journey began. The woodburning tool has 10 interchangeable points and so I began experimenting with pattern and design." |
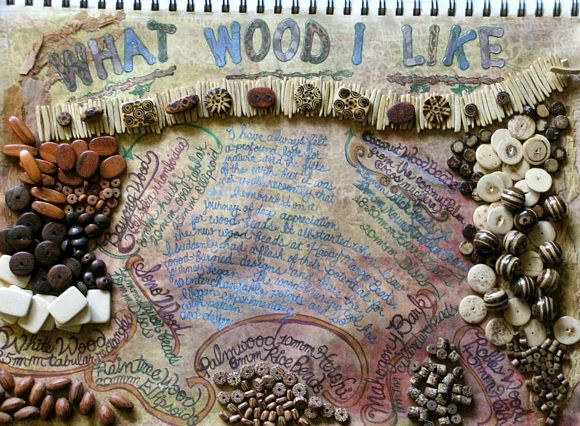 |
| Beads shown: Coconut Wood, Bayong Wood, White Wood, Raintree Wood |
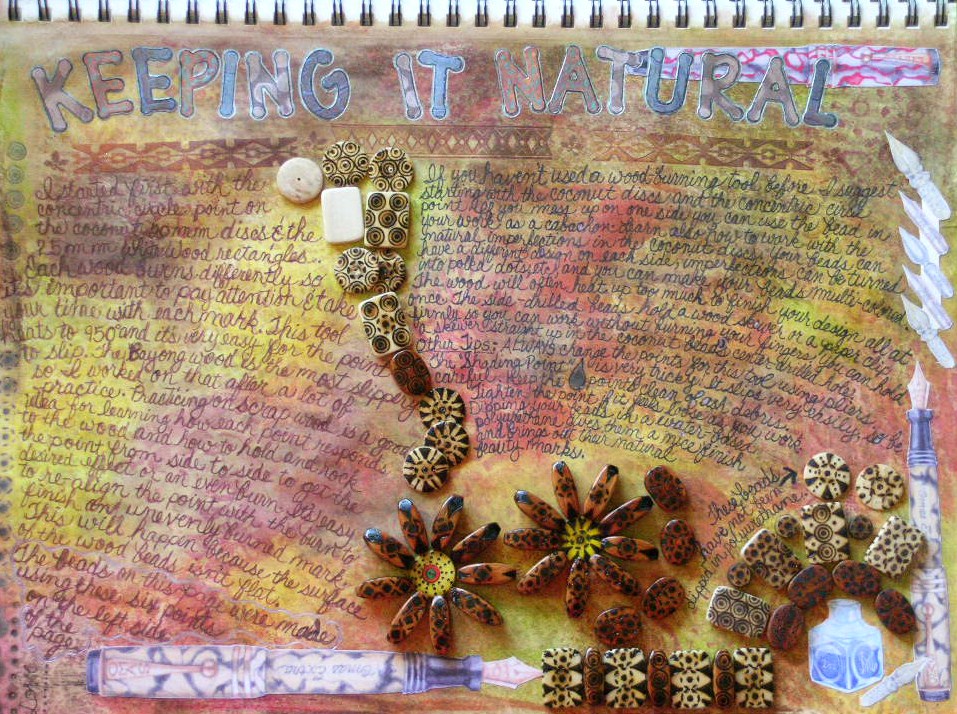
| Keeping it Natural Jeanne-Marie started first with the concentric circle point on the Coconut 20mm discs and the 25mm White Wood rectangles. Each wood burns differently so it's important to pay attention and take your time with each mark. This tool heats to 950 degrees and it's very easy for the point to slip. The Bayong Wood is the most slippery of these beads, so it takes some practice. Practicing on scrap wood is a good idea for learning how each point responds to the wood and how to hold and rock the point from side to side to get the desired effect or an even burn. It's easy to re-align the point with the burn to finish an unevenly burned mark. This will happen because the surface of the wood beads isn't entirely flat (the edges of the beads curve downward). |
 |
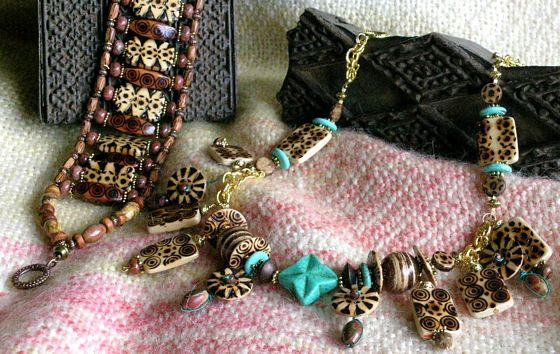
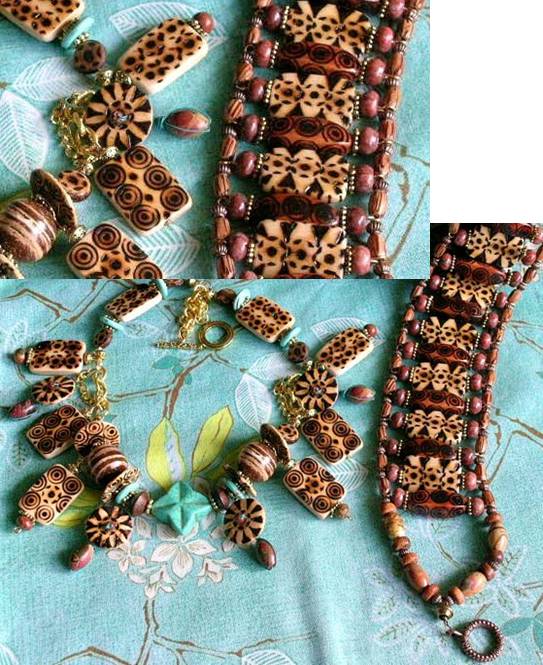
| If you haven't used a wood-burning tool before, Jeanne-Marie suggests starting with the Coconut discs and the concentric circle point (which is the easiest to use). If you mess up on one side of a bead you can use it in your work as a cabochon. Learn how to work with the wood's natural imperfections in the coconut discs. You don't have to have the same design on each side of your beads. It can actually add to the beauty of a bead to have a different design on each side, and imperfections can also be turned into polka dot...even multi-colored polka dots. The wood will often heat up too much to finish your design all at once. The side-drilled beads hold a wood skewer or a paper clip firmly, so you can work without burning your fingers. You can also hold a skewer straight up in the Coconut disc's center-drilled hole while you work on it. Other Tips: ALWAYS change the points for this tool with pliers. The 'Shading Point' (the tear-drop shaped point) is very tricky! It slips very easily, so be careful. When using this point to create a design on the edges of your beads, it's helpful to put it on a slightly raised, burn-proof surface, like a small toaster tray. Keep the points clean of ash debris while working. Tighten the point if it feels loose while you work. Dipping your beads in a water-based polyurethane gives them a nice finish and brings out their natural beauty marks. When dipping your beads, make sure to clear off the excess polyurethane that runs to the bottom of the bead as they dry. You can compare the beads that have not been dipped in polyurethane to those that have in the above image. "Making this necklace and man's bracelet (pictured below) was one of the most satisfying creative processes I have ever stumbled upon (and believe me, I have stumbled up the block, around the corner and down the hill when it comes to the creative process). I Love to experiment. I saw the wood beads and had an idea. I thought that was it, I'd just play around, but...making jewelry with my own woodburned beads is very satisfying. I'll be incorporating these beads into my jewelry and mixed media for a long time. I especially love the fact that I have finally come upon a material that's perfect for making men's jewelry, which is particularly rewarding because almost everything I make is distinctively female, lol. Yay! I'm out of the box!" For the bracelet I combined Red Creek Jasper and Brecciated Jasper with White Wood, Bayong Wood ellipsoids, Bayong Wood heishi, and Coconut Wood rice shaped beads. The necklace is made from White Wood rectangles, Coconut Wood barrels, discs, and flat rounds, plus Sono Wood saucers combined with Magnesite & Red Creek Jasper. |
 |
 Loading... Please wait...
