Categories
Company Info
Inspiration & More
Wire Wrapped Button Bracelet Tutorial
Tutorial by Kimberlie Kohler
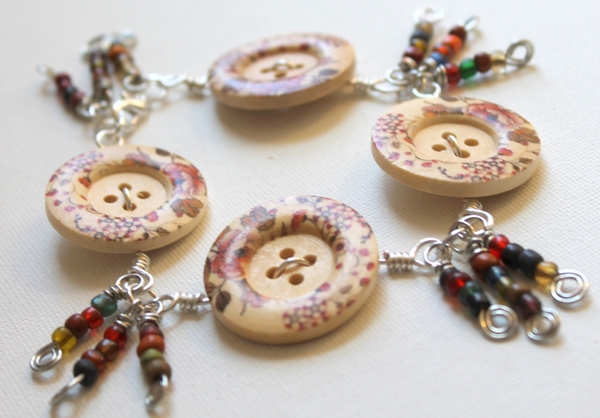
| Buttons aren't just for clothing! Follow this tutorial to learn how to make buttons into wire wrapped links that you can use to make jewelry. |
|
|
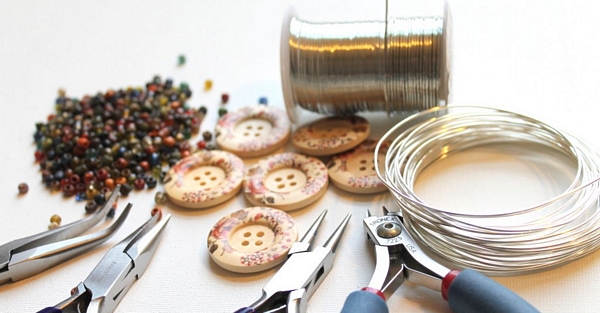
Suggested Tools & Materials:
|
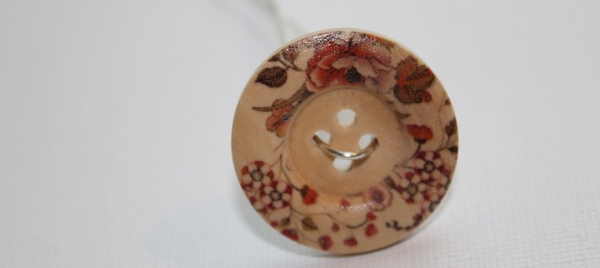 |
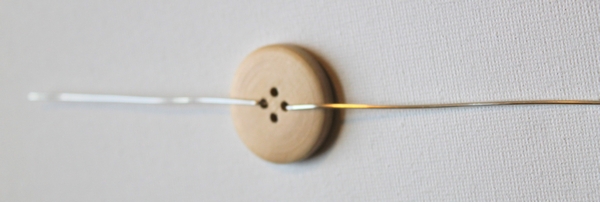
| Cut a 6 inch piece of wire, bend it loosely in half and insert it into the button. |
|
|
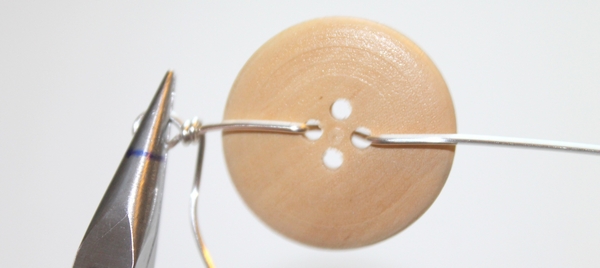
| Bend out and flatten the wire ends. |
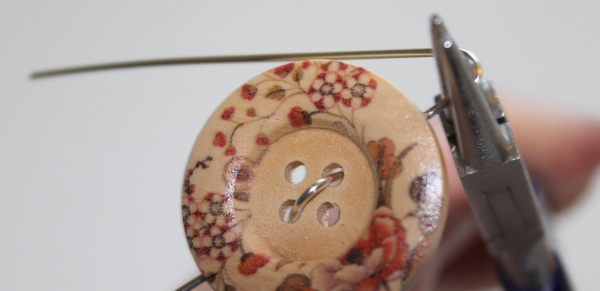 |
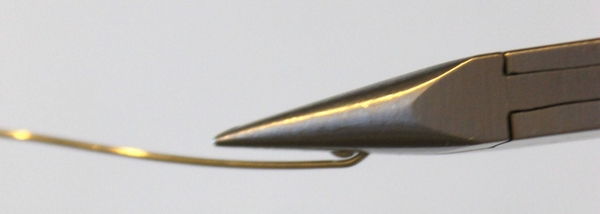
| Make connecting loops by wrapping the wire around your round nose pliers. You'll notice that Kimberlie has drawn a mark on her pliers, to ensure uniform loops throughout the project, by always wrapping the wire around the same point on the pliers. |
|
|
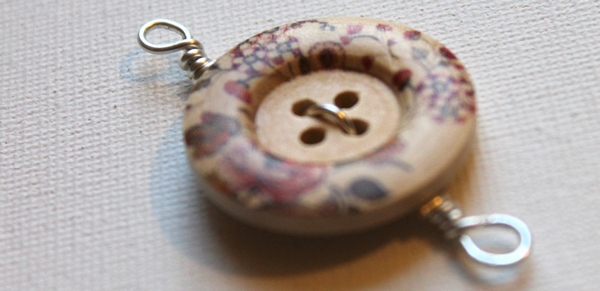
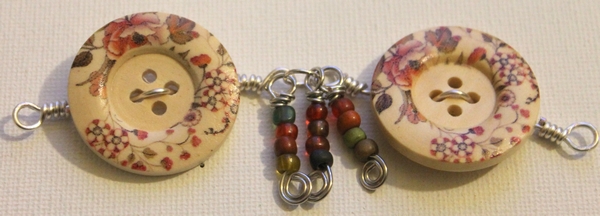
| Hole the loop with your chain nose pliers and use another pair of pliers to make wraps until you reach the button. Clip any excess wire to make sure it's not poking out. Repeat this process for the other side of your button, and then make as many more button links as you need. This bracelet uses four of these button links. |
|
|
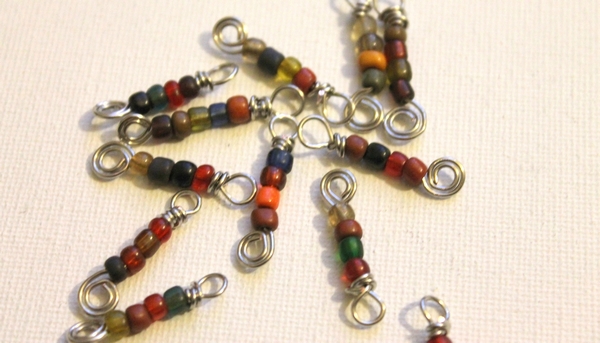
| Cut a 3 inch piece of wire and roll a spiral at one end. Be sure to bend the wire at the end of the spiral so the straight piece is centered. This means your beads will be centered on top of the spiral as well. |
|
|
| Add a few beads to your wire and then create a wire wrapped loop with the same method you used before on the button links. |
|
|
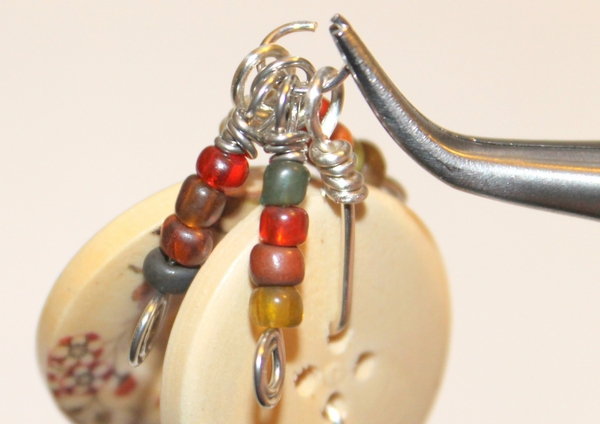
| Connect two button links, with a few bead dangles in between, with a jump ring. Continue to add your button links, until you reach the size you'd like. When you're ready to join the ends of your bracelet, include a lobster or toggle clasp on the final link. |
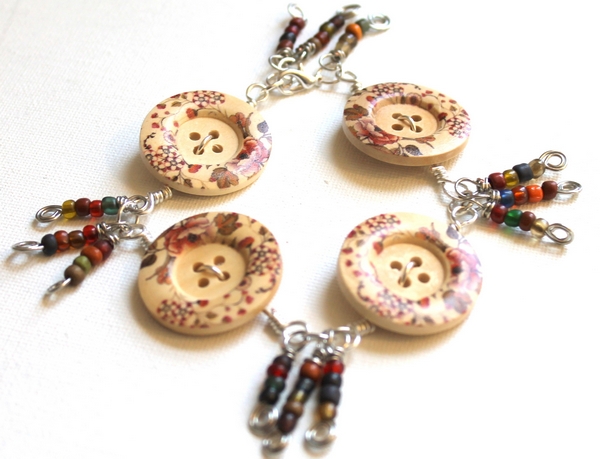 |
| If a bracelet like this isn't your style, you can add additional links to create an eclectic necklace instead. Happy beading! |
 Loading... Please wait...
