Categories
Company Info
Inspiration & More
Multi-Color Wood Beads Tutorial
Tutorial by Jeanne-Marie Mellor
 |
Basic supplies:
|
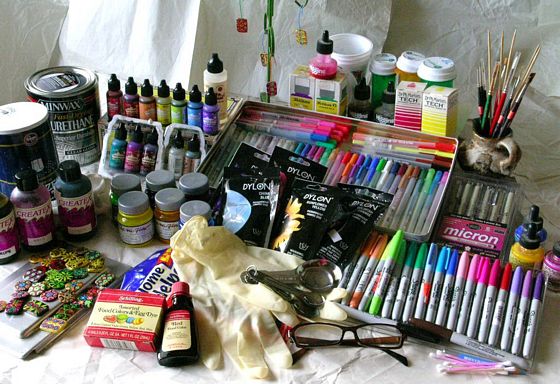 |
Supplies for dyeing wood beads (as well as bone beads & fabric):
Rather than going into the multitude of dyes available, I listed my favorites for dyeing beads because it's a no nonsense, straightforward, quality dye that produces rich, beautiful colors on fabric, as well as wood and bone beads. If you don't have a good art supply store in your area, I have also seen this dye for a great price on Create for Less. The Jacquard Dye-Na-Flow liquid dyes are also available online; I haven't seen them on Create for Less though. The best place for all things dye online is Dharma Trading. Jacquard also makes other dye products, if you want to experiment further. Warning: enter at your own risk. This website is supremely overwhelming and has way too much cool and amazing stuff. |
 |
My favorite materials:
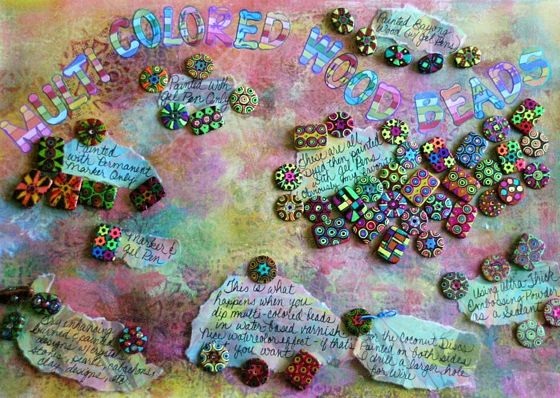
Beads painted only with permanent markers A bead colored with marker and gel pen Bayong wood & coconut discs burned, dyed, painted with gel pen and enhanced with Swarovski crystals Beads colored only with gel pens Bayong wood beads painted with gel pens Coconut discs & white wood rectangular beads dyed, then painted with gel pens A few examples of what happens when you dip multi-colored beads in water-based varnish An example of a coconut disc drilled with a larger hole for wiring Plus a few examples of beads treated with ultra-thick embossing powder instead of dipping in varnish. |
 |
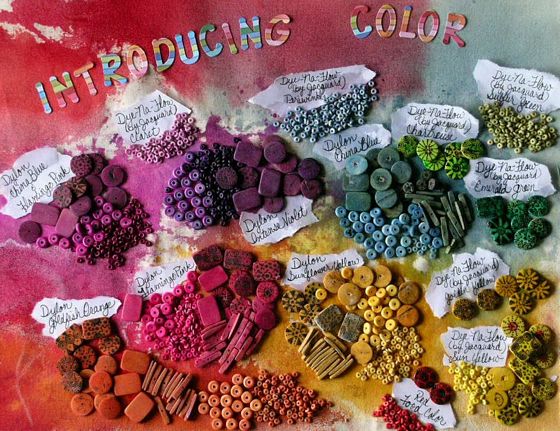
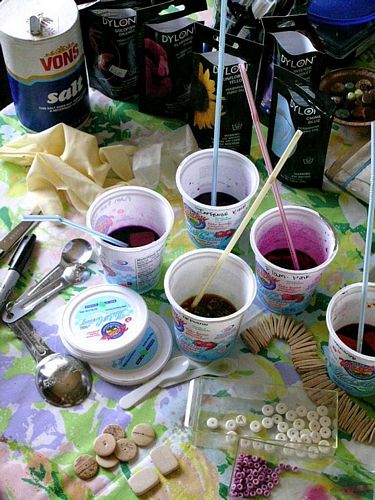
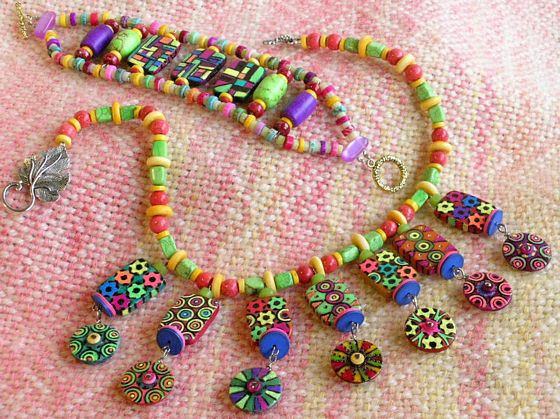
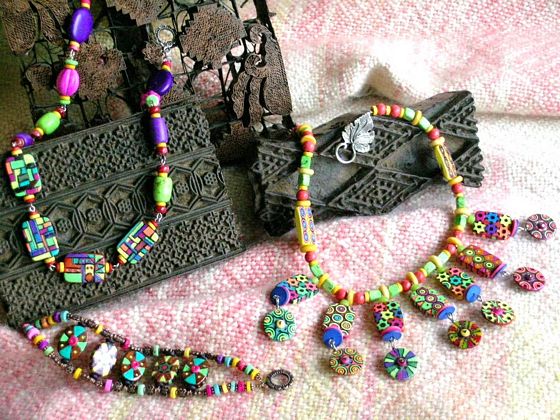
| DYEING WOOD BEADS (and bone spacers) Note: If you are dyeing in the kitchen, ALWAYS use your dyes AWAY from food areas and use utensils dedicated to DYES ONLY. If you can, set up a small dye table in the corner covered with an old sheet; mix and dye everything there. To dispose, pour directly down an open drain. One of the benefits to using fabric dyes like Dylon is that you can mix a small amount whenever you need hassle-free. For the photos shown here, I used only 1-2 teaspoons of dye to approximately 1/2 cup of very warm water and a pinch of salt. That was plenty for the amount of beads shown in the results photo. Although this dye calls for warm water, I start with hot water, enough to dissolve the crystals. (See in the results photo on a few of the beads there are white areas that look like salt/mineral deposits. This happens when either the dye crystals aren't dissolved enough or you've used too much dye for the amount of water. There are really no firm rules for amount of dye or timing here, so for beads it's okay to experiment. Generally speaking, darker colors need less dye-to-water. As with amount of time, it also depends on how vibrant or pastel you want your colors. Usually, 1-2 hours is plenty for beads. Denser substances like bone do well with longer dye time, especially if it has a light polish that makes it less porous. So play and have fun! Experiment with mixing dye colors to get in-between hues like apricot, honeysuckle, blue-violet, lime green. Note: It's generally better to dye before burning your beads. Often times, dyeing after burning your beads results in muddy colors, especially with lighter hues. Ideally, the best process is dye, burn, then varnish. "Once out of the box, I became intrigued by ideas for adding color to the woodburned beads. Dyeing, doodling, painting, experimenting with pattern and design. The Coconut, White Wood and Bayong Wood became the perfect little wearable canvases. Making this bracelet and two necklaces I found that magnesite/howlite in its many forms and colors are the ideal compliment to painted wood beads. It feels like Mardi Gras, a Cinco De Mayo, a celebration around my wrist and neck." |
 |
 |
 Loading... Please wait...