Categories
Company Info
Inspiration & More
Leather + Pearls Bracelet Set Tutorial
Tutorial by Adrianne Surian
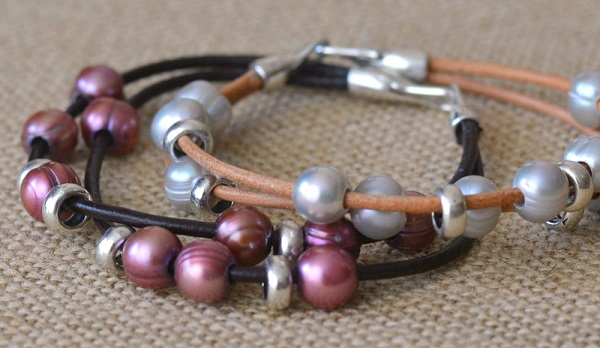
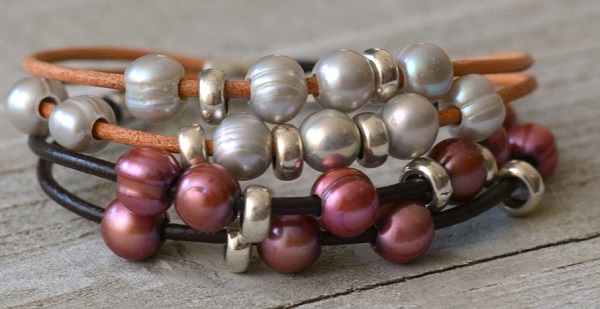
| This simple design of 2 layers of leather cord (or more, if you're feeling like you want to experiment!) with large hole pearl beads and pewter rings has a natural and casual, yet classy look. It's also a great project for beginners! |
|
|
|
|
|
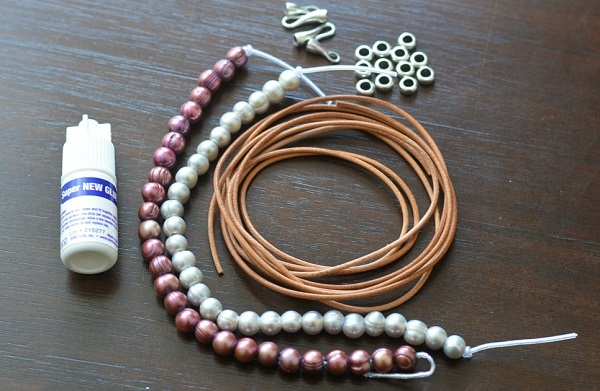
Suggested Tools & Materials:
Please note: some items pictured may not be available from Happy Mango Beads. Please see the above links for suggestions. |
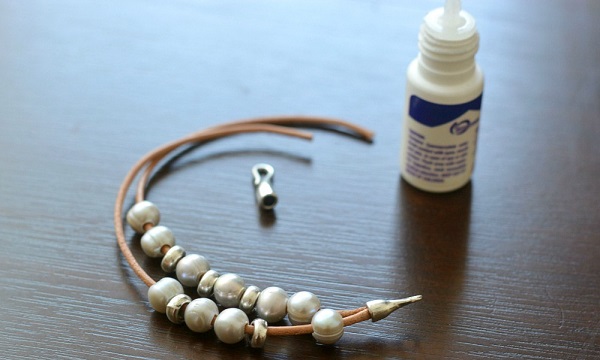
| Adrianne says "This bracelet is as simple as cut and glue! I'm making a 7 1/4 inch bracelet for myself, so I cut 2 leather cords, 7 inches each. (The clasp will add my last 1/4 inch.)" You can adjust your leather cord length larger or smaller depending on your wrist size. Add a few drops of glue into one end of your glue-on clasp and fit the leather cords into the cap. |
 |
| After the glue dries, thread on several pearls and pewter rings to get the look you want. Adrianne added 10 pearls and 5 rings per bracelet, because she likes for the leather cord to be visible. You can add more (or less) beads, to your liking. When you're happy with your design, glue the second end cap on to the other end of the of the leather to close the bracelet. Allow your work to dry before wearing it (this usually takes about 10 minutes). |
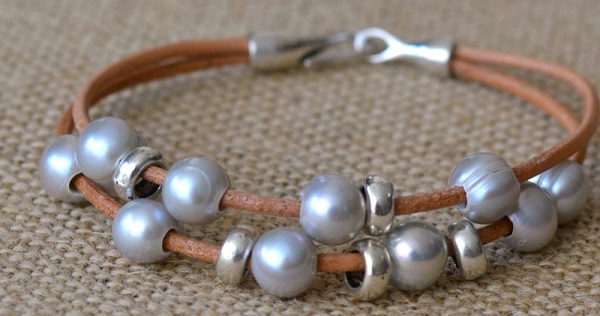 |
| That's all it takes to make this simple DIY bracelet! Make just one, or a few with different colors to wear as a stack. |
 |
| Happy beading! :) |
 Loading... Please wait...
