Categories
Company Info
Inspiration & More
Layered Silk & Silver Bracelet Tutorial
Tutorial by Adrianne Surian
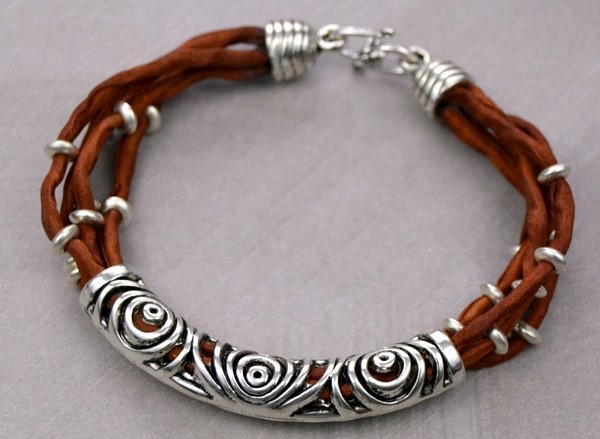
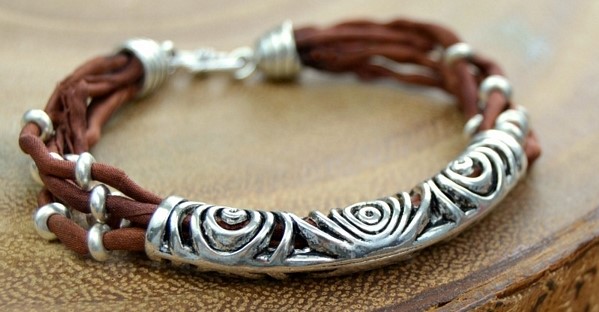
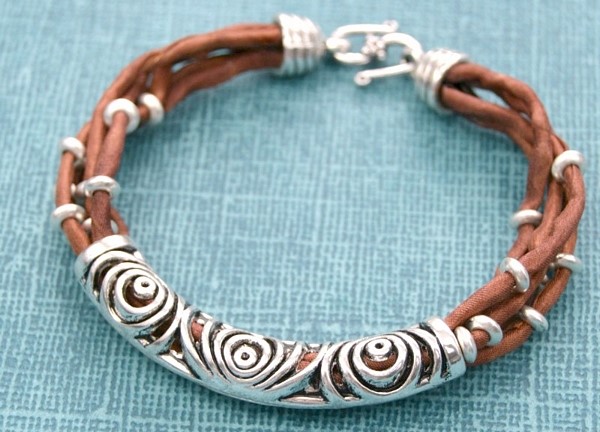
| If you’re looking for a DIY bracelet tutorial that’s got a bit of boho flair, you’re doing to love this easy design. Suitable for beginners all the way up to experienced jewelry makers, you won’t need specialty tools or techniques for this project – just scissors, glue, and some basic bead stringing! Silk and silver accents come together in this warm-weather piece that only takes about 10 minutes to create. |
 |
Suggested Tools and Materials:
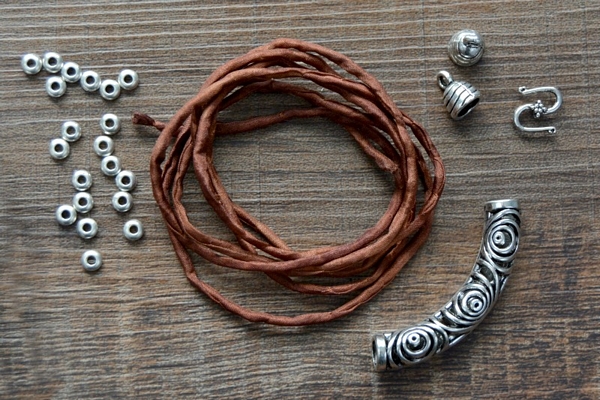 |
|
|
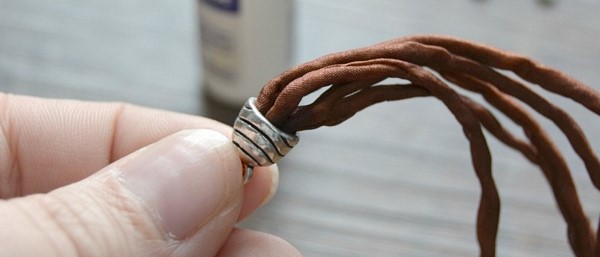
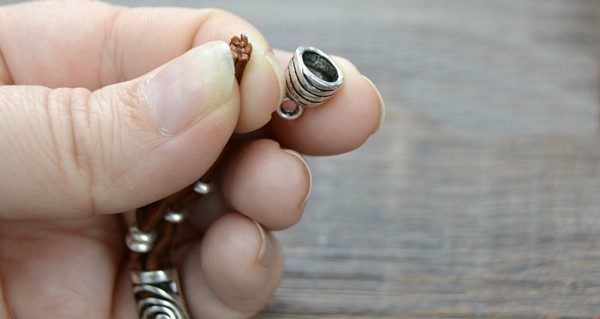
| To begin, cut the silk cord into 5 equal pieces (they will be approximately 8.25 inches each). Add a few drops of jewelry glue to the inside of one of the bead caps, and glue all 5 strands in. A note on glue: any type of glue that is suitable for both fibers and metal will work! I am using Super New Glue here which is a fast-drying, liquid base super glue. It’s a matter of personal preference, but as these silk cords are absorbent fibers, you’ll have to use caution not to add too much glue to the caps – just 2-3 drops will be plenty! Much more, and you risk the glue being visible at the ends of the cords. You can also use an epoxy type of glue like E6000 which will not be as absorbent, but it will also need longer to dry. |
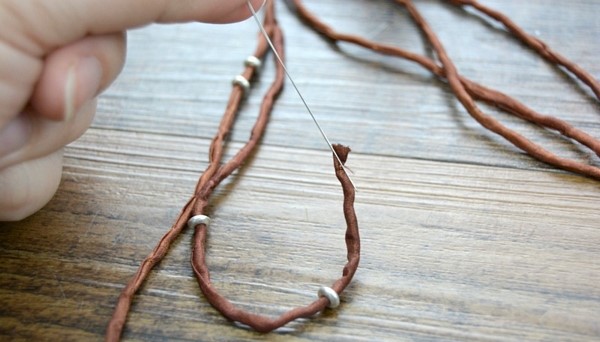 |
| String 2 spacer beads onto each of the five silk cords. You can of course use more, if you look at my design and think that more silver accents would be better! However, I only snagged 20 of these beautiful beads on my last shopping spree, so I had to make do with 20. I did not have much issue at all with slipping the beads directly onto the silk cord, but if you struggle, a large eye beading needle will help with any stubborn individual cords.Next, gather all 5 cords together, and thread them through the large tube bead. For this step, you will likely need the aid of a flexible large eye beading needle. Then, add 2 (or more) spacer beads to each cord. |
 |
| Gather all the cords together, and measure a length of 7 inches on the bracelet. Cut the excess cords, and glue the second bead cap into place covering the newly-trimmed cords. At this point, your cords and beads may need to be adjusted slightly to be centered on your bracelet. The fit of the beads in this project will be loose enough to adjust, but snug enough along the cord that you shouldn’t experience much shifting. |
|
|
| Connect the ends with an S-hook (or your favorite type of clasp) to finish the bracelet. Check the package directions for the glue’s drying time before wearing, but most formulas will be dry enough for wear in in hour or less! |
|
|
|
I love the organic look of layered bracelets with natural fibers like silk cord, but don’t forget that the beauty of making a DIY bracelet is that you can use other materials – ribbons, hemp, or even fine chain can transform the look of the piece to make it truly your own. |
 Loading... Please wait...
