Categories
Company Info
Inspiration & More
Crystal & Pewter Bracelet Tutorial
Tutorial by Adrianne Surian
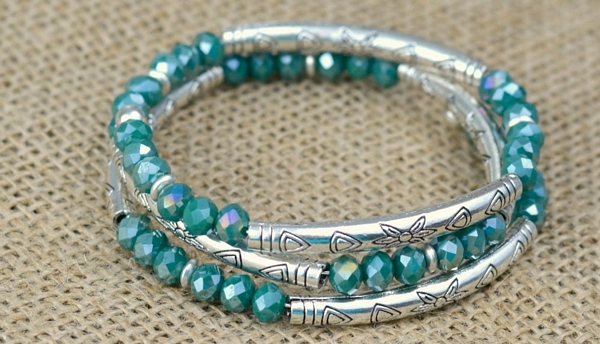
| This simple stacked bangle bracelet tutorial makes up quickly and adds some sparkle and shine to any wrist. Choose your favorite color of glass crystal beads to add a personalized flair! |
 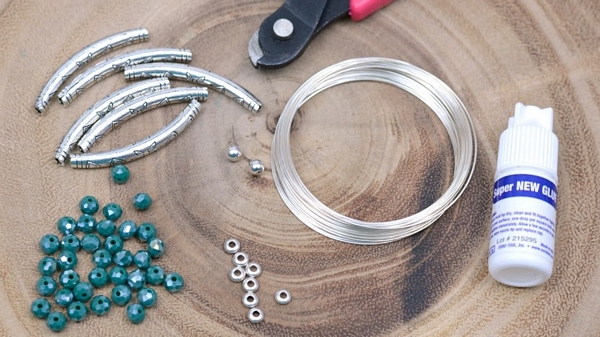 |
Suggested Tools & Materials:
|
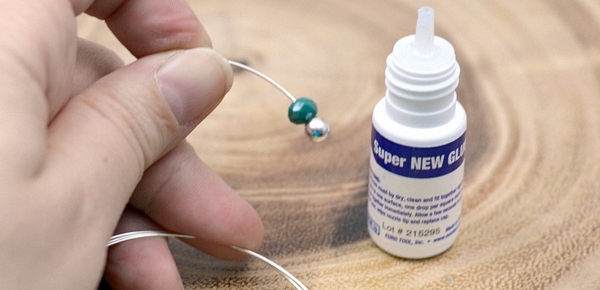 |
| First, trim 3 coils of memory wire off to work with (or more, if you're making a larger bracelet, or if you prefer to have a longer working wire). To one end, add a glass crystal bead, a drop or two of jewelry glue (anything that's rated to bond metal to metal will work!) and then add the memory wire end cap. Hold the bead and end cap together, securely at the end of the wire. You'll need to keep holding it together until the bond is strong enough to hold on it's own - depending on the glue, this can take a minute or two. |
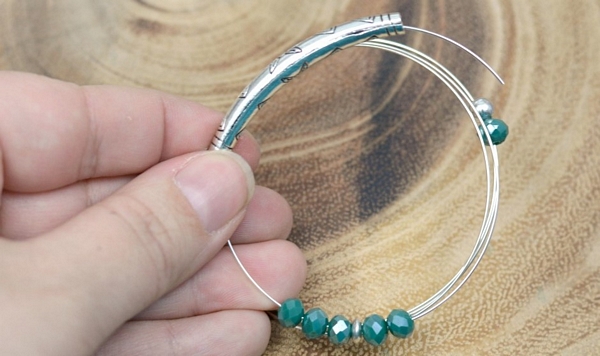 |
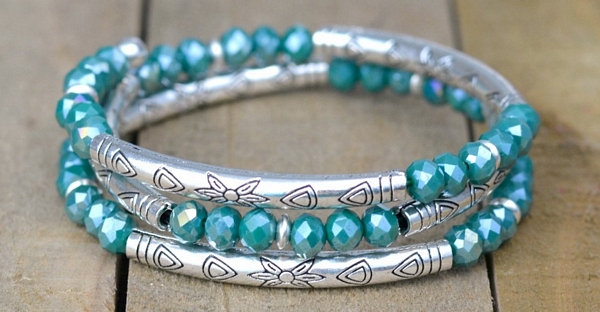
| Once the end cap is secured, begin beading. The pattern shown uses 3 glass crystal beads, one pewter spacer, 3 more glass crystal beads, then a tube bead. You can vary this pattern, and the beads used, according to your own creativity. |
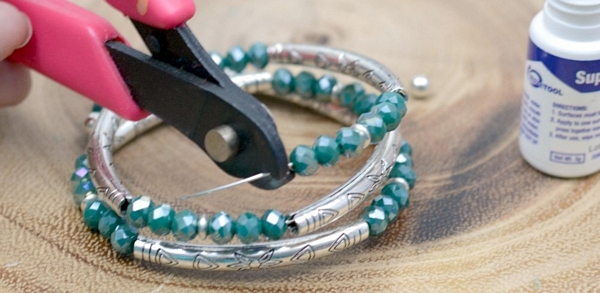 |
| When you reach the end of the coils, make sure to "tighten" the beads all the way to the first end, to make sure there aren't any large gaps. Then, trim the wire leaving about 3mm excess. Handle the bracelet with special care at this point, as the beads could easily fall off the end. Add a few drops of glue to the final bead, and place a memory wire end cap on the wire. As with before, you'll need to hold it in place until the bond is secure enough to not fall off. Allow the bracelet another 20-30 minutes to dry before wearing, but you can admire your work in the meantime! |
 |
 Loading... Please wait...