Beaded Fringe Bib Necklace Tutorial
Tutorial by Adrianne Surian
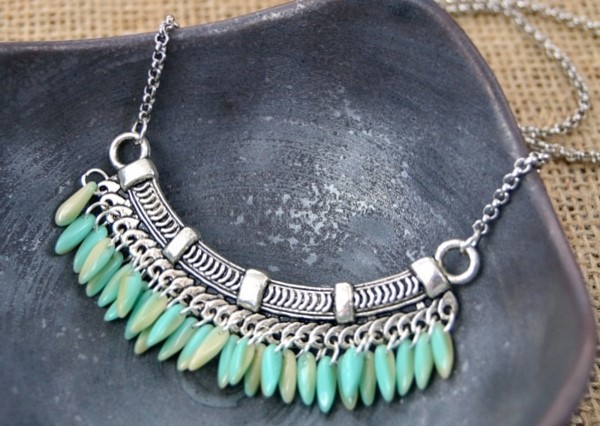
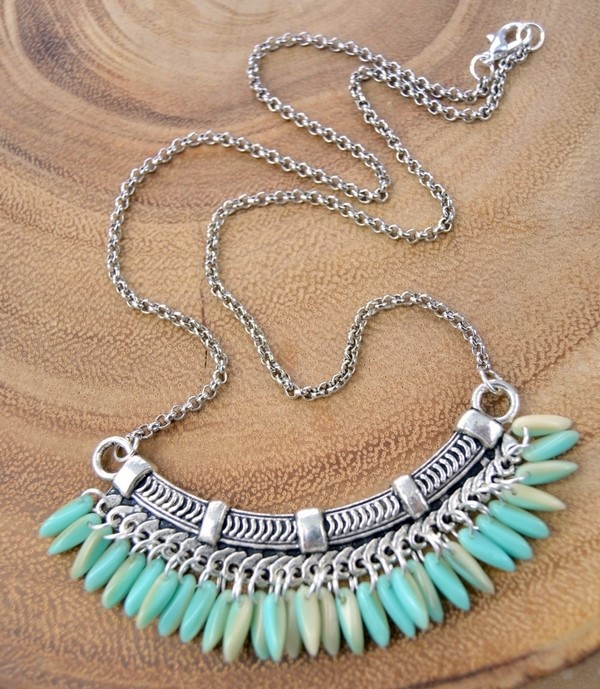
| This beaded bib necklace makes a big impact, looking like an upscale boutique piece, but if you have 30 minutes and you can use a pair of jewelry pliers, you can make this look yourself at a fraction of the cost. |
 |
|
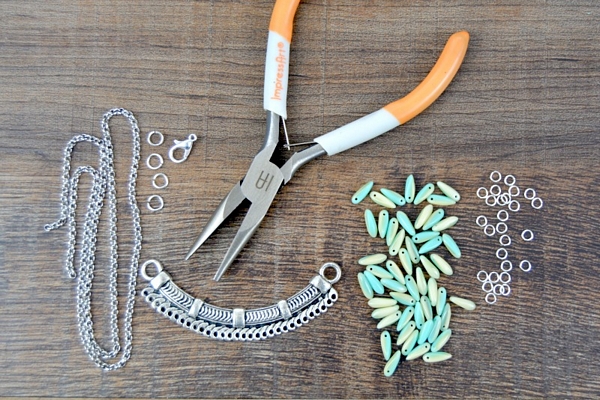
Suggested Tools and Materials:
A quick note about substitutions. You may easily substitute another size or style of chain, clasp, or 7mm jump rings, however – 22 gauge is the largest gauge that will fit through the holes in these particular Czech beads.
Please note: some items pictured may not be available from Happy Mango Beads. Please see the above links for suggestions. |
|
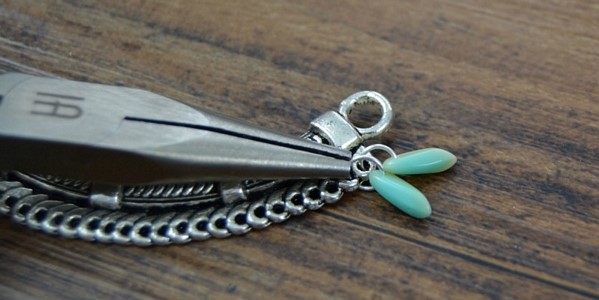
Assembly is simple! It will take a little time, because you’ll be attaching 30 beads to the connector. But you will simply twist open a 22-gauge jump ring with your chain nose pliers, slip it through the hole in the dagger shaped bead, and connect it through one of the holes at the bottom of the bib connector. Twist the ring closed again, and repeat. |
|
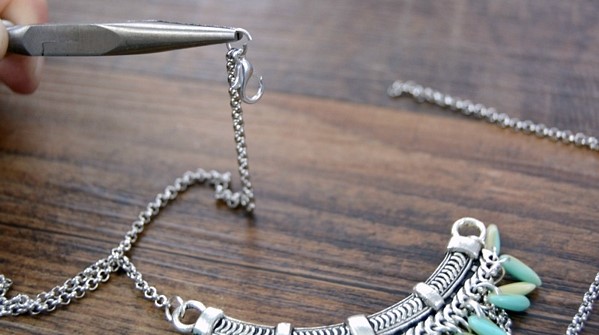
Once you have connected all your dagger beads to create the fringe, connect a 9″ length of chain to each side of the connector with your larger 7mm jump rings. At the end of each segment of chain, connect a final rump ring – adding a lobster clasp to one side before twisting it closed. |
|
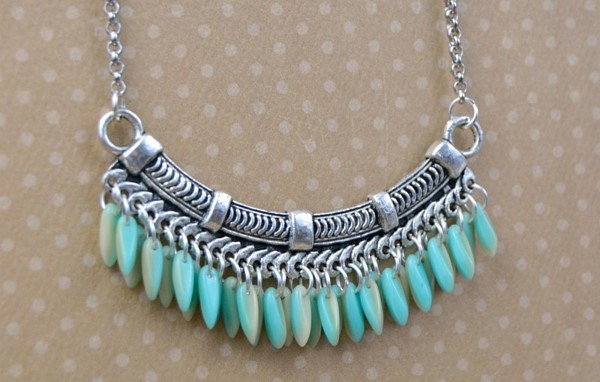
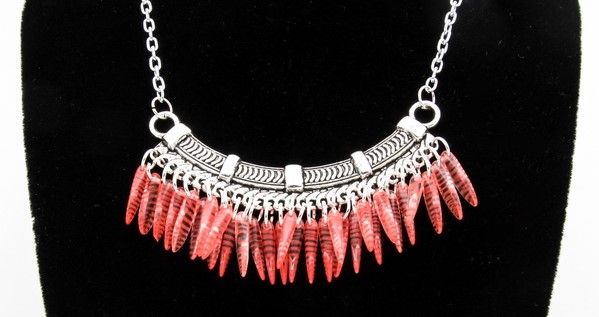
The short distance between the holes at the bottom of the bib give the necklace a nice full look! And of course, you can choose any color or any length beads to match your style. It’s the beauty of DIY jewelry – feel free to make it exactly your own! |
 |
 |


 Loading... Please wait...


