Categories
Company Info
Inspiration & More
Copper & Pearl Earrings Tutorial
Tutorial by Adrianne Surian
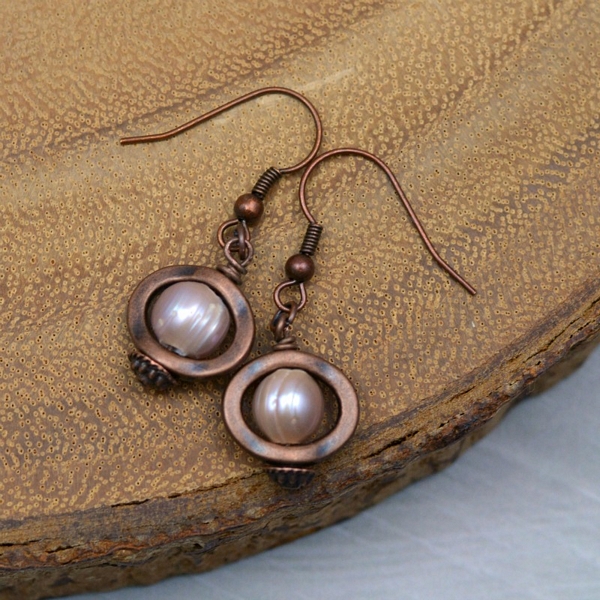
| These copper and pearl DIY earrings are simple to make and suitable for beginner makers who enjoy working with wire. This project is instant gratification – you can make these earrings in under ten minutes! Plus they’re a great accessory for those of you out there who love natural beauty. |
 |
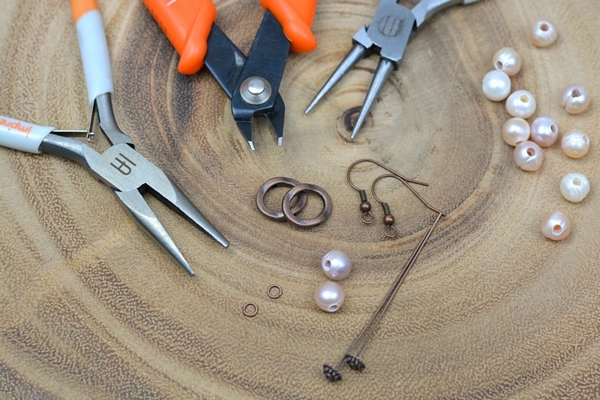
Suggested Tools and Materials:
Please note: some items pictured may not be available from Happy Mango Beads. Please see the above links for suggestions. |
 |
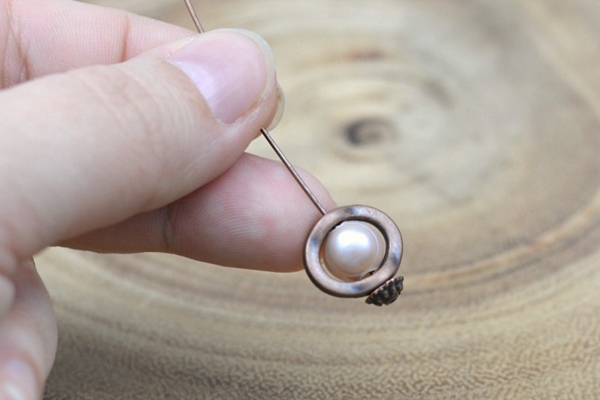
| First, slip the pearl bead inside the center of the copper bead, aligning the holes. Stack the two beads onto a decorative head pin. |
 |
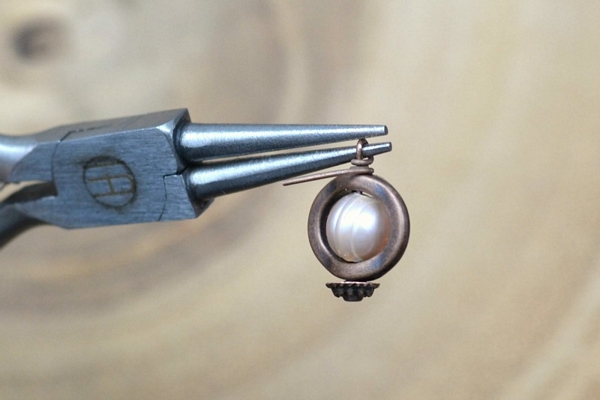
| Next, grip the head pin above the bead with your round nose pliers. Wrap the wire end of the pin around one side of the pliers, forming a loop. |
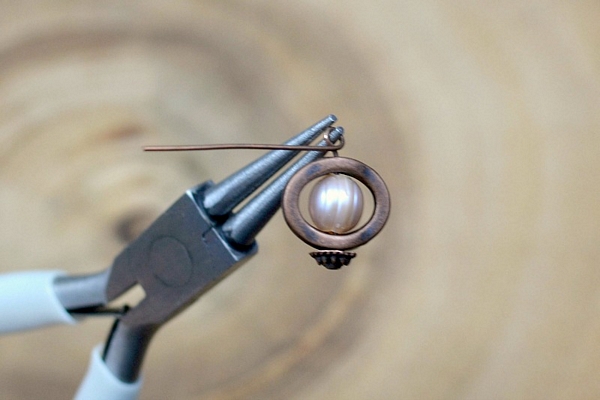 |
| Now, wrap the wire end around the pin between the loop and the top of the bead in neat coils. Trim any excess wire away with flush cutters, and press the trimmed end down with pliers if necessary – sometimes it sticks out slightly after cutting. |
 |
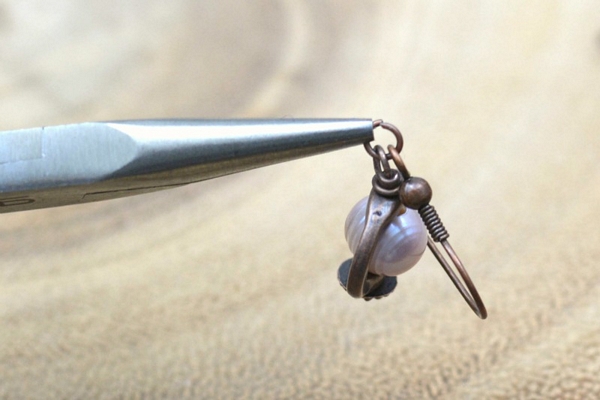
| Finally, twist open a small jump ring, and connect the earring wire to the beads through the loops on each piece. Twist the jump ring closed again to finish your earring. All that’s left is to repeat the steps to make a pair! |
 |
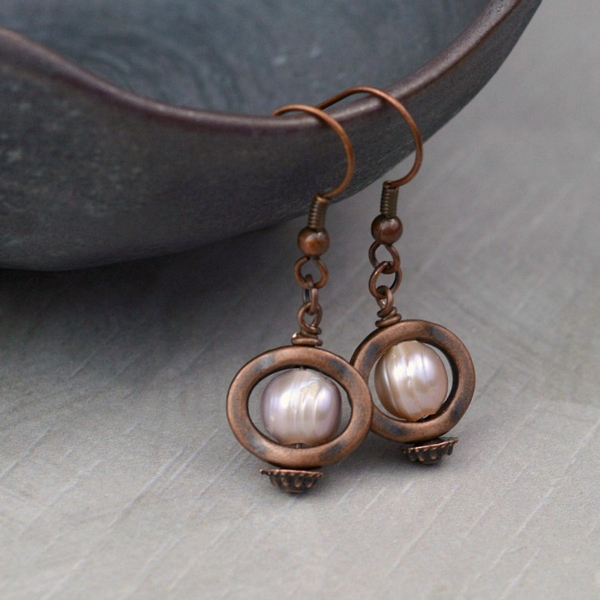
| I love the warm look of the copper finish in these earrings, but if you prefer a lighter look, check the links in the supply list above because these components are also available in a classic silver tone pewter as well! That’s part of what’s great about making DIY earrings – you can change up the colors to match your own style. |
 |
 Loading... Please wait...