Categories
Company Info
Inspiration & More
Copper + Glass Alphabet Bracelet Tutorial
Tutorial by Adrianne Surian
| When you think of alphabet beads, you may think of jewelry for children, but this tutorial shows how to create a more grown-up look, with glass, copper, and metal patina paints. Unleash your inner artist and wear your own favorite message with this simple project! |
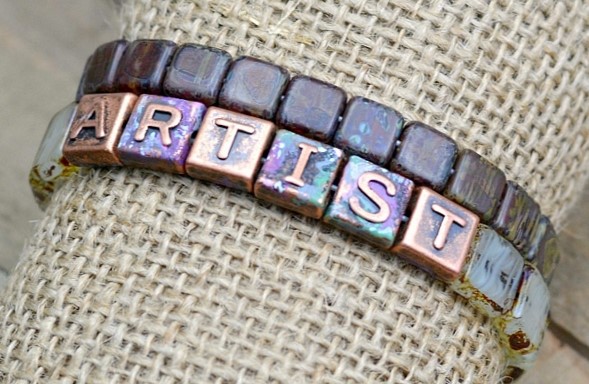 |
| These pewter beads with copper plating have a nice weight to them. When you mix and match them with other square tabular beads, such as Czech Glass Beads, you can put together a stylish stack of bracelets in no time! |
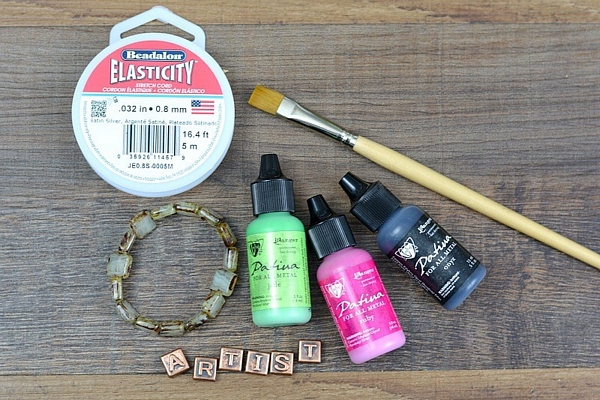 |
| Suggested Tools and Materials: We have a lot of alphabet beads and charms to choose from in both ceramic and metal assortments so no matter what your style is, you can wear the words and names that mean the most to you. For today’s project I used the following beads from Happy Mango Beads: (And don’t forget, you can mix and match textures and hues by adding more bracelets!) The additional supplies used are:
|
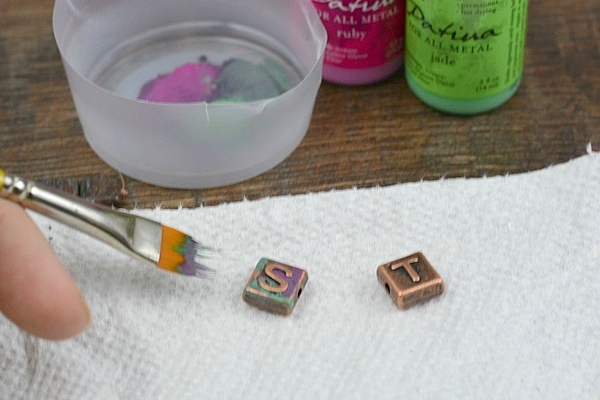 |
| Use metal patinas (listed in the supplies above) to add a distressed, painted look to the letters. Metal patinas are easy to use – just brush or drop them on – and once dry are permanent. Make sure to wipe any excess patina off the top of the letter. |
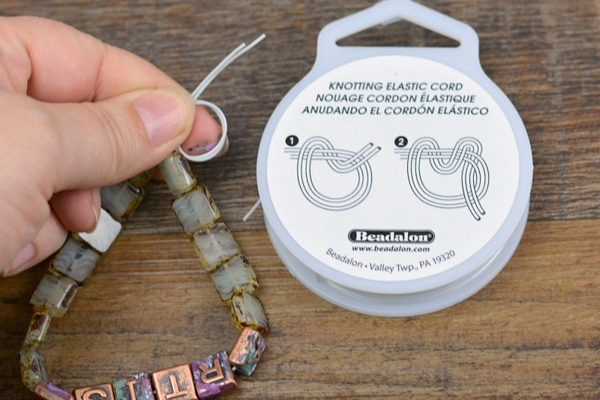 |
| The beads dry quickly, so you can string your design and tie off your stretch cord. You should aim for 7-7.5 total inches of beads for the average woman’s wrist. You want it to stretch to go on and come off, but to lie just slack when worn. |
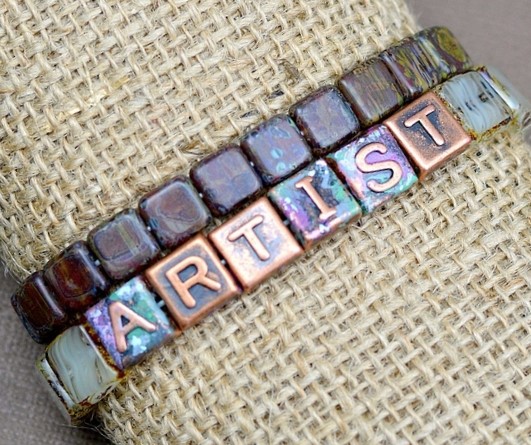 |
| Stack on as many bracelets as you like, spell as many words as you like, mix metals, play with patinas, and get creative. The sky is the limit with this ultra-easy bracelet tutorial! |
 Loading... Please wait...