Categories
Company Info
Inspiration & More
Boho Tassel Necklace Tutorial
Tutorial by Kimberlie Kohler of Emerging Creatively Tutorials
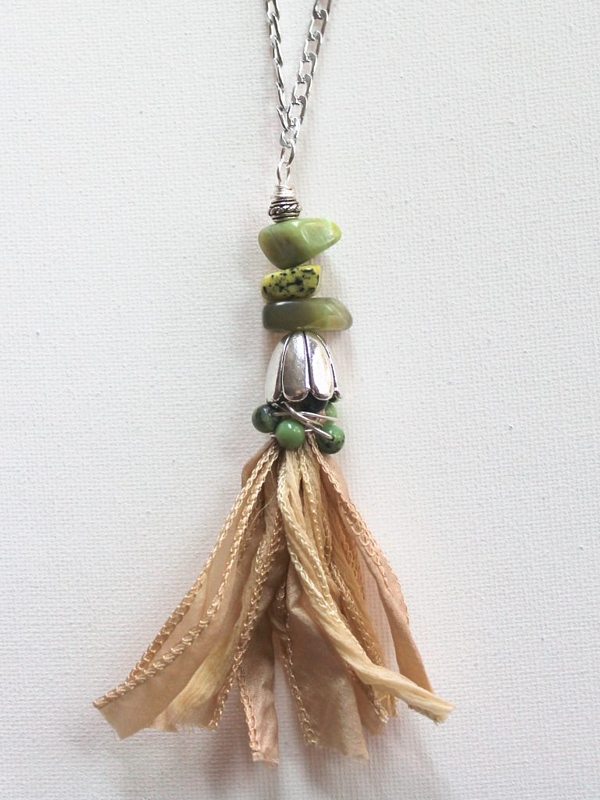
| I love tassels and they have become quite a trend. I didn’t just want an ordinary tassel, though, so I added some gorgeous gemstones as well. I used beautiful chrysoprase gemstone beads, but you could use any gems you like. |
 |
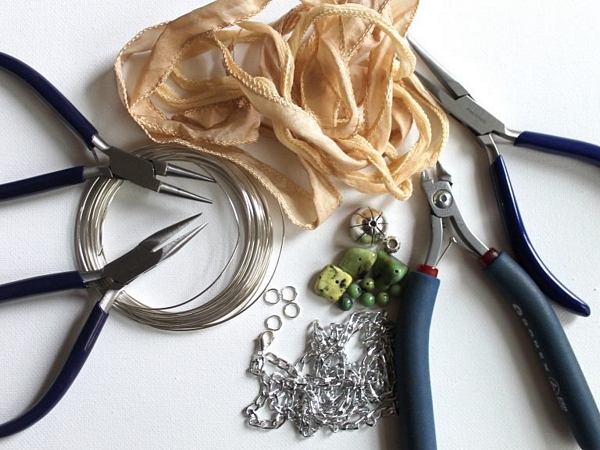 |
Tools and Materials:
|
 |
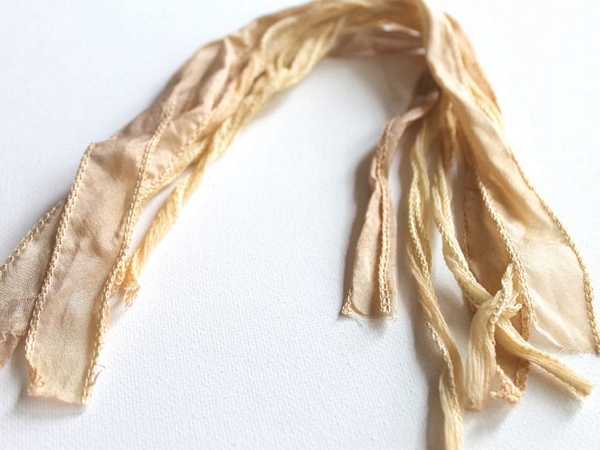 |
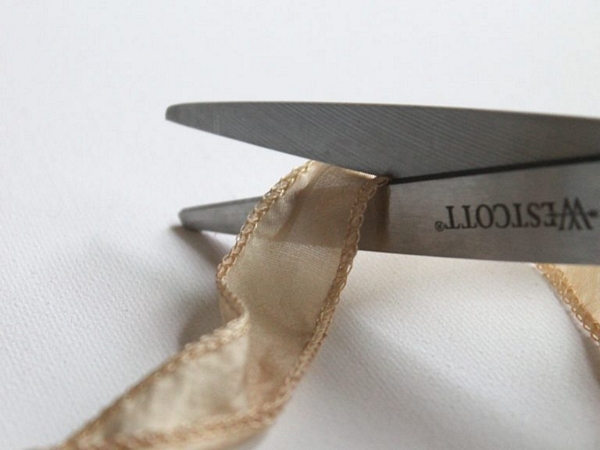
| Cut your silk ribbon to double the length that you would like your tassel to be. So if you want your ribbon to hang 6 inches, cut 12 inches.I cut both of the ribbons in thirds, or in about 13 inch lengths. |
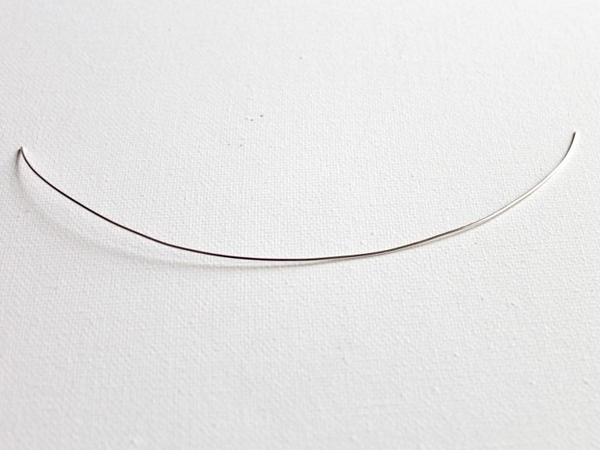 |
| Cut a piece of wire to about 8 inches. |
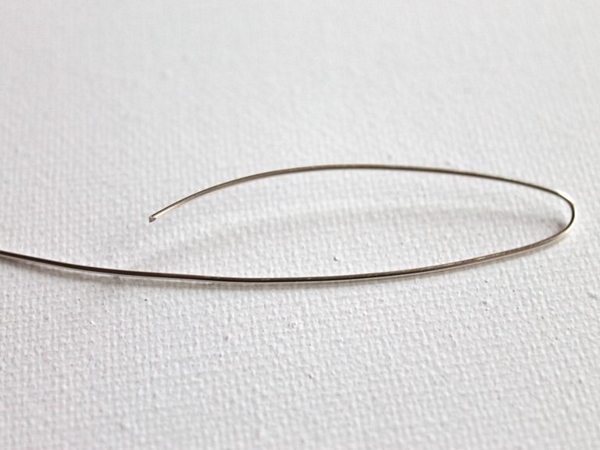 |
| Bend the wire at approximately 2 inches. |
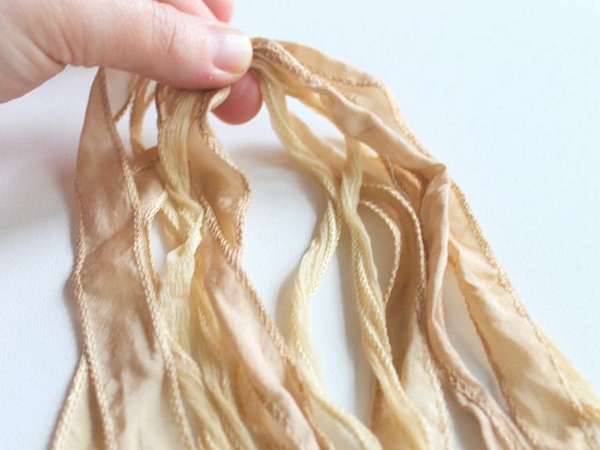 |
| Gather up your ribbons and find the middle. It’s okay if they’re not all the same length right now because we’ll fix that at the end. I simply found the middle of each piece and gathered them up. I also alternated the two different ribbons when I was gathering them up so they would be mixed up. |
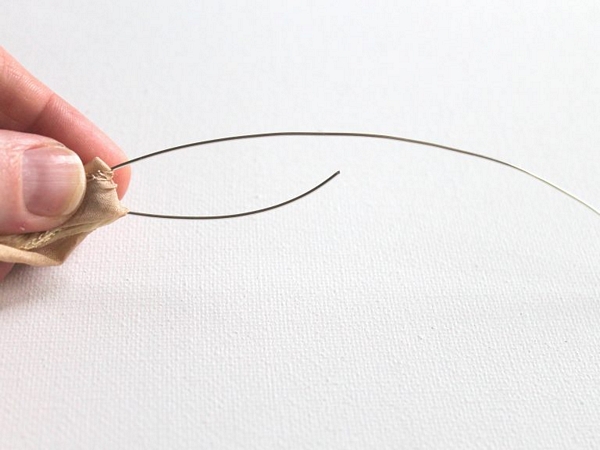 |
| Pull the wire around the ribbons. The wire should be right at the middle point of the ribbons. |
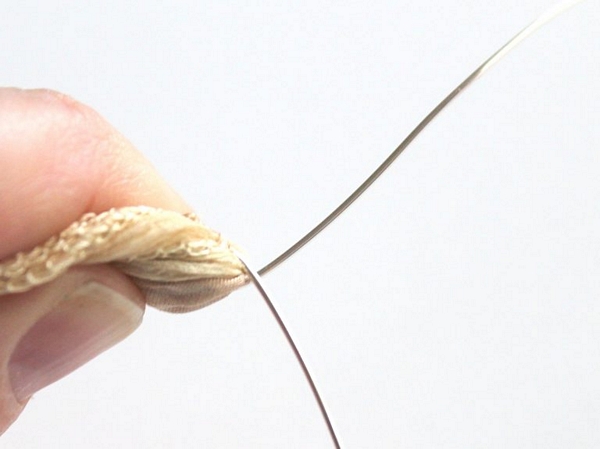 |
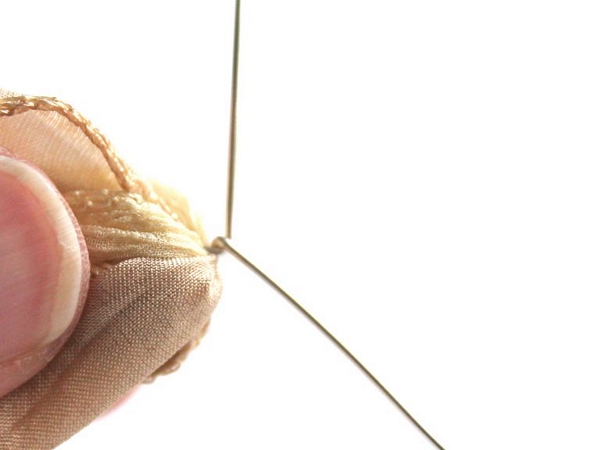 |
| Cross the wires and then make a full twist. Make sure that the wire is holding the ribbon tightly so it won’t come loose. |
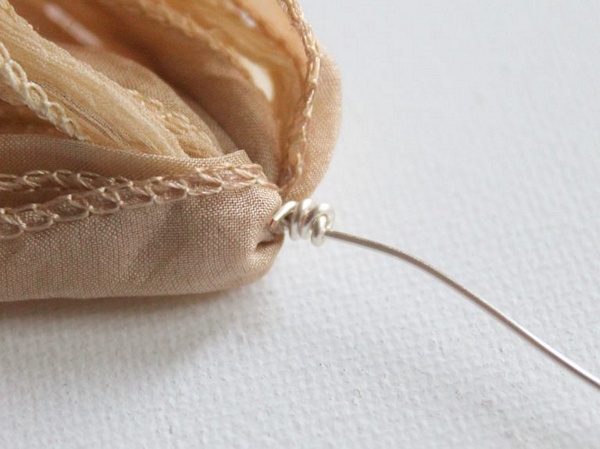 |
| Wrap the short end around a few more times. (It will be hidden) |
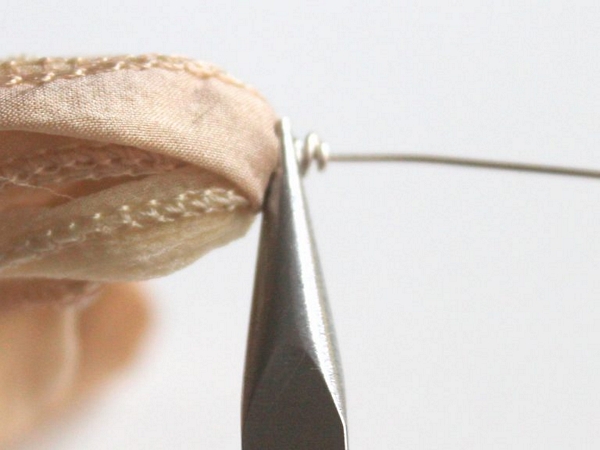 |
| Cut off any excess wire and make sure the end of the wire is not poking out. |
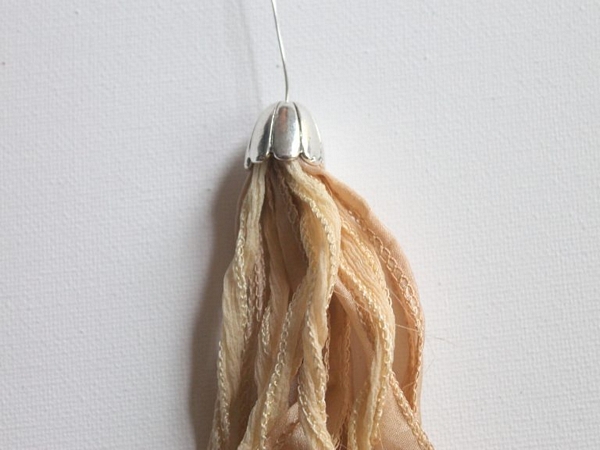 |
| Pull the bead cap onto the wire and over the top of the ribbon. Your wraps should be covered. |
 |
|
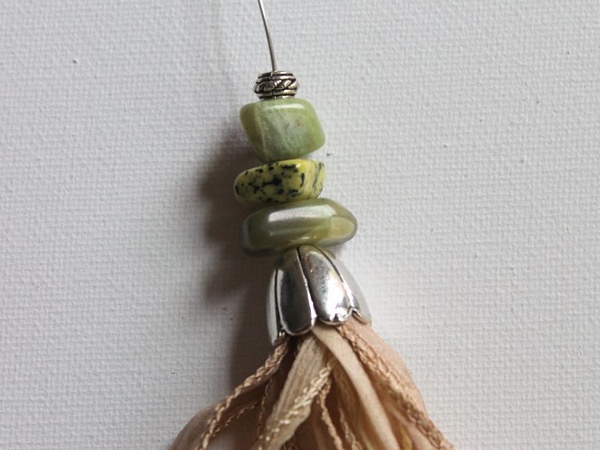
Slide on three of the chrysoprase nugget gemstone beads and the pewter bead. Hint: You may have to try different gemstone beads from the stand in different combinations until you get the look that you like. |
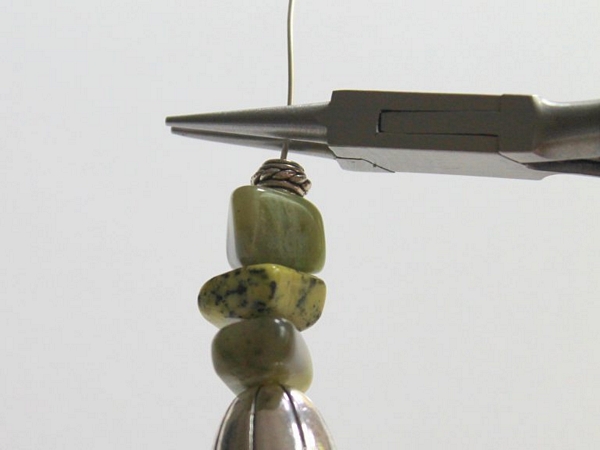 |
| Hold the wire in round nose pliers just above the last bead. |
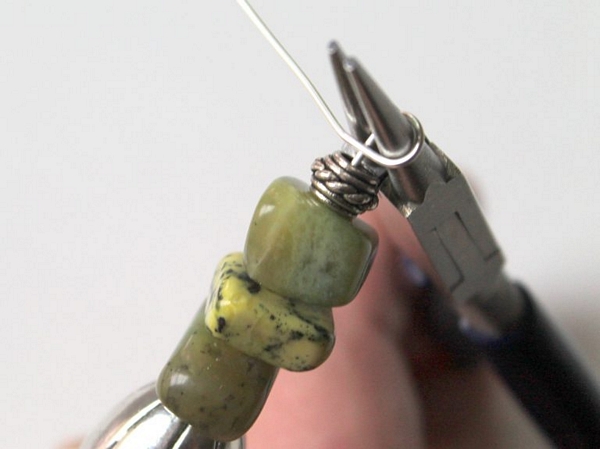 |
| Wrap the wire around the round nose pliers forming a loop. |
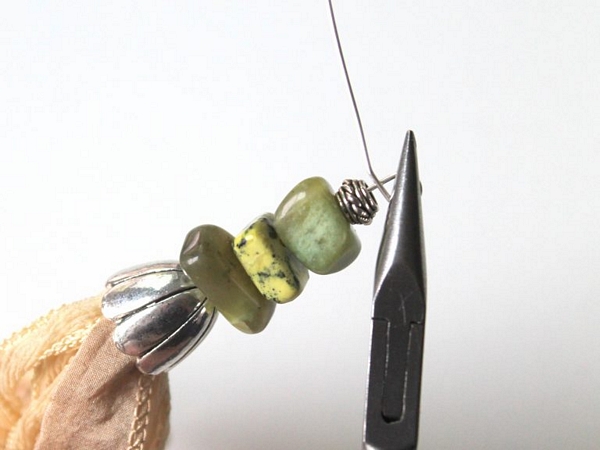 |
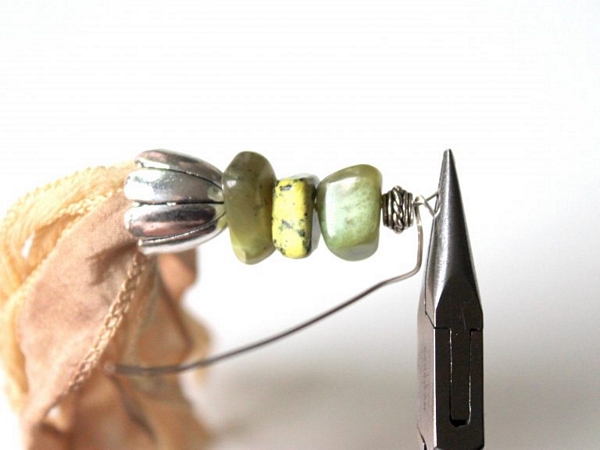 |
| Wrap the wire around one time while pulling out the tassel straight to straighten the loop so it’s centered on top of the tassel. |
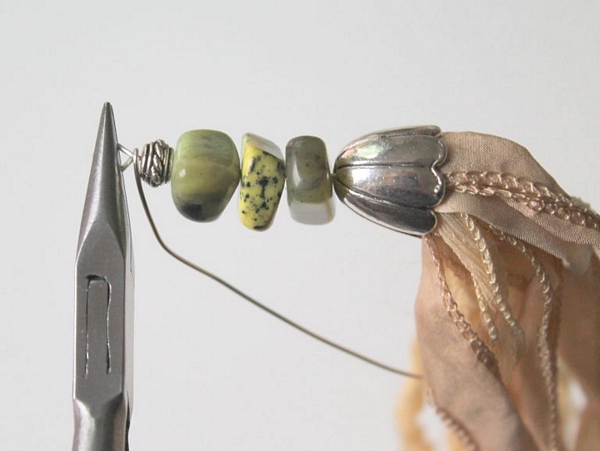 |
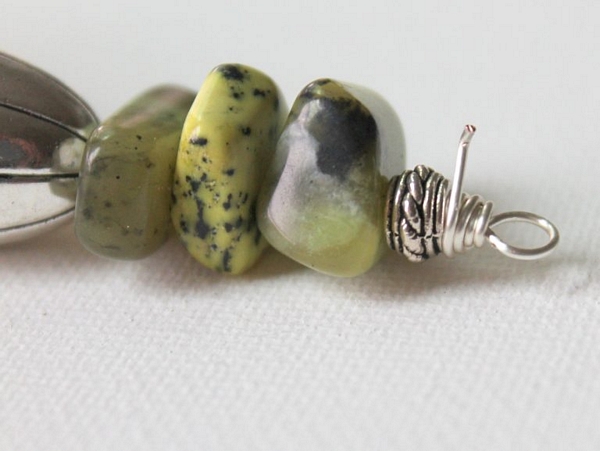 |
|
Wrap the wire around several times. Keep your wraps tight and neat. Note: Typically when making wire wrap loops you’d only wrap around two more times. However, you will want to wrap around several times so that the wraps are as wide as the top bead to hold it in place. |
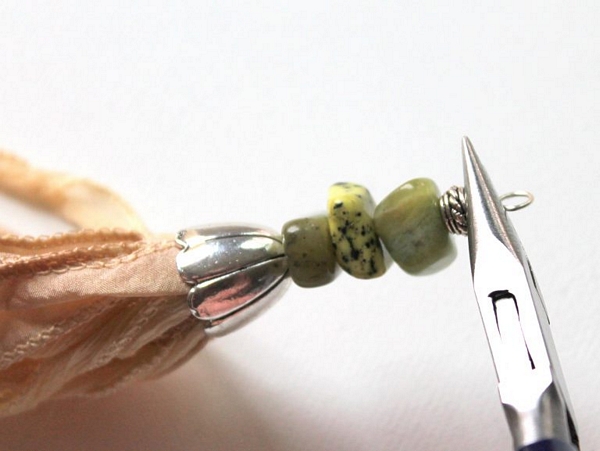 |
| Trim off any excess wire and use your chain nose pliers to make sure that the end is not poking out. |
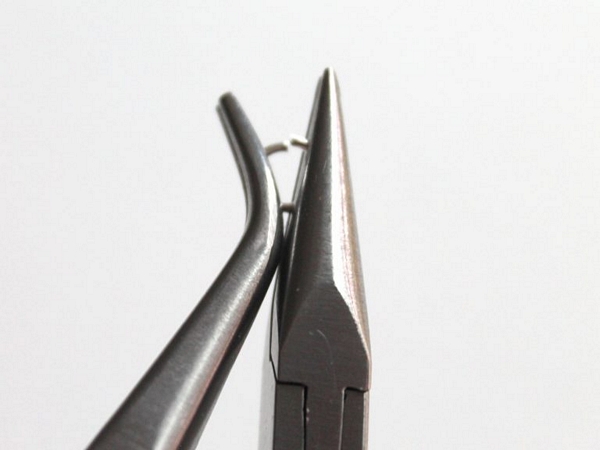 |
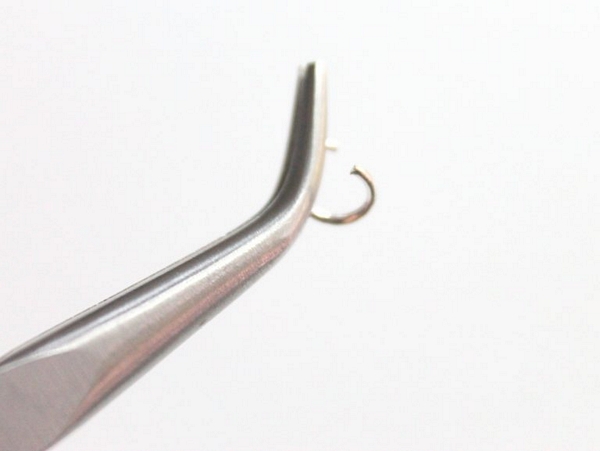 |
| Open 4 jump rings.To open a jump ring find the opening in the jump ring. Then center the opening in between 2 pair of pliers. (I use chain nose and bent nose.) With one pair of pliers move toward you and with the other away from you to open the jump ring. Do not pull apart sideways.If you need more instructions, here’s a video on how to properly open and close jump rings. |
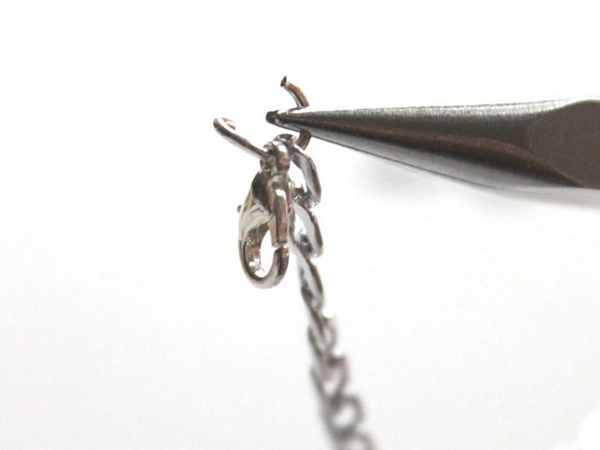 |
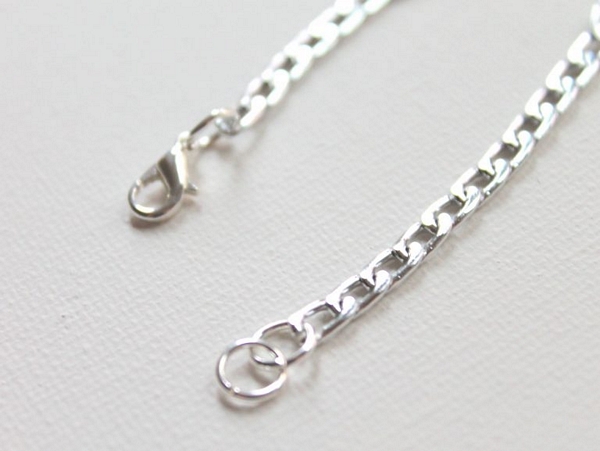 |
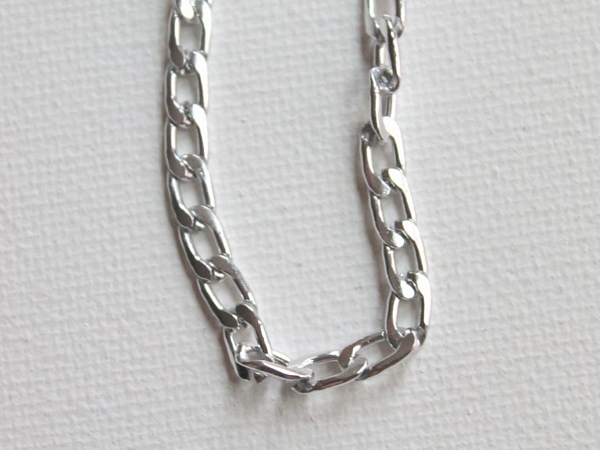
| Decide how long you would like your necklace and cut your chain to that length. I kept my chain at the length it was (36 inches) because I wanted a really long boho look. You may prefer your necklace to be shorter.Add the lobster clasp to one end of the chain and 2 jump rings to the other end.I like to use 2 jump rings because it’s easier for me to actually close my necklace when I have a couple of jump rings. If you kept your chain long, you can slip it over your head without opening and closing and won’t need to worry so much about that. |
 |
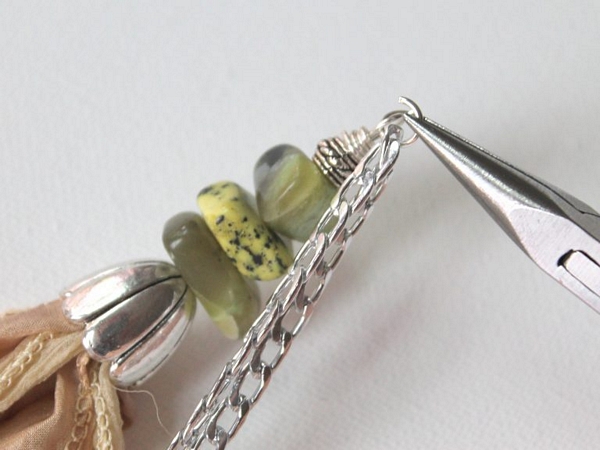 |
| Find the middle link and use a jump ring to attach the tassel.Alternatively, you could simply slip the tassel onto the chain. (If slipping it on, do so before you add the lobster clasp or jump rings to the ends.) |
 |
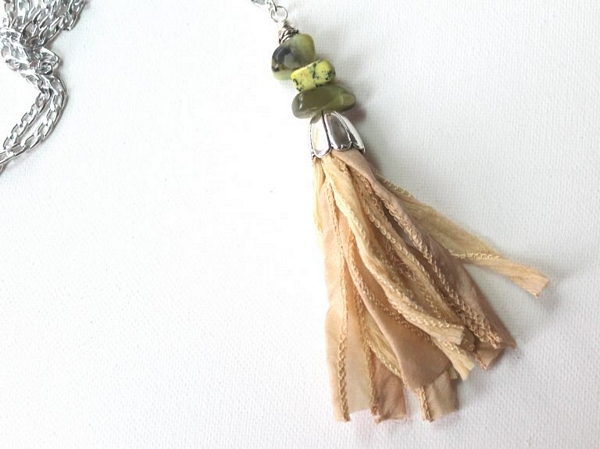 |
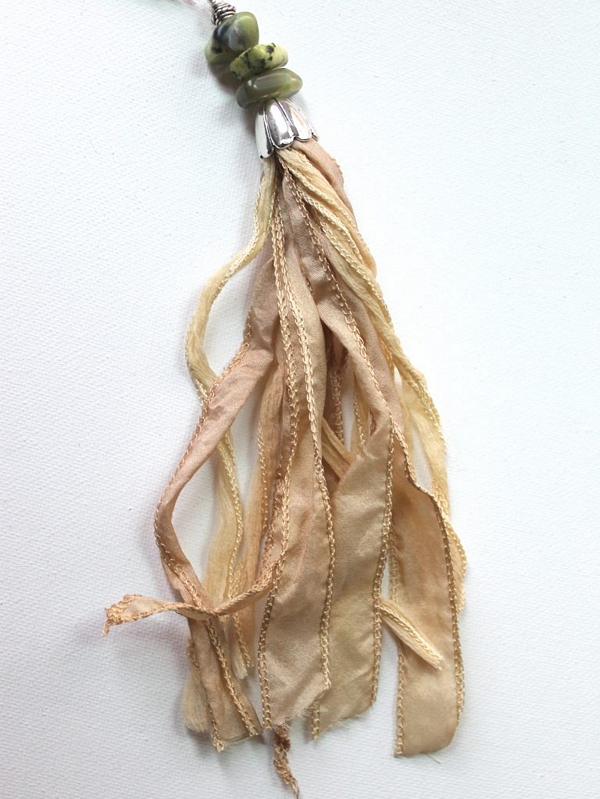
| Trim off any excess ribbon and make sure it’s all even. (Alternatively, you may like the look of different lengths. I chose to make mine not perfect but kind of close to be all the same length.)Now that you have the chain attached you can try it on and decide how much ribbon you want to cut off. |
| You could really stop at this point and have a beautiful tassel necklace. Or you can add a little extra to it.Cut 8 inches of wire. |
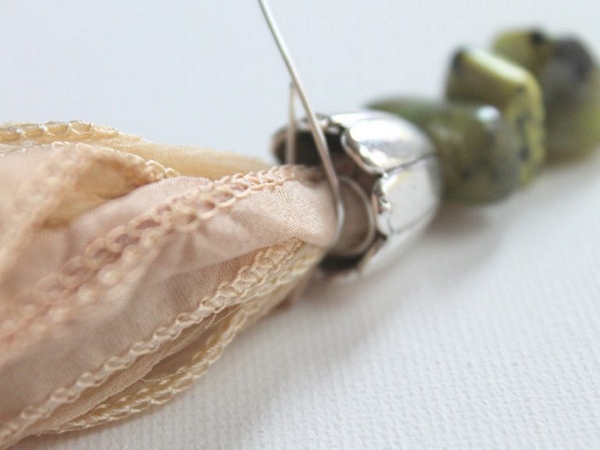 |
| Wrap the wire around the ribbon a few times. Try to get it underneath the bead cap. Tuck the end of the wire underneath the bead cap and make sure it’s not poking out. |
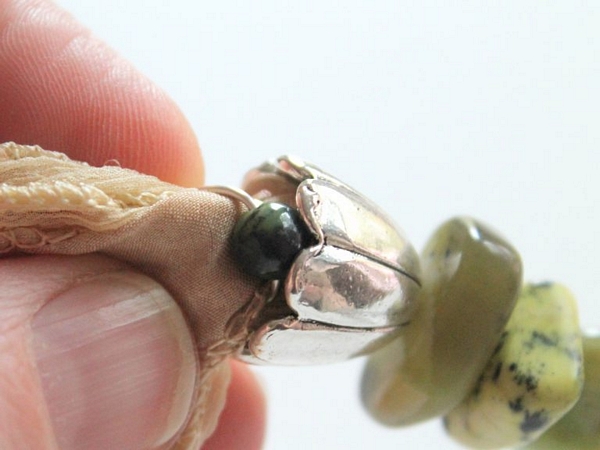 |
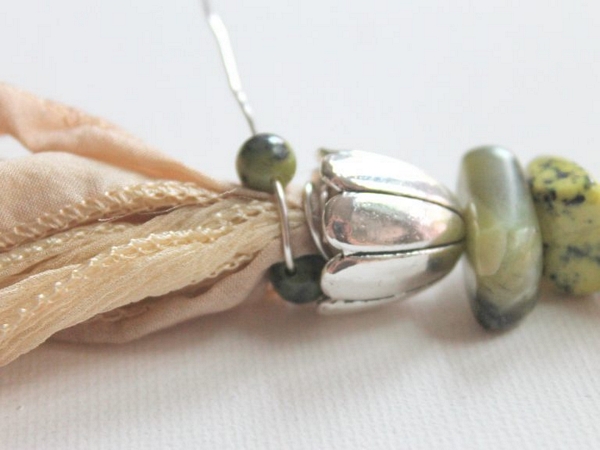
| Slide a 5mm chrysoprase round gemstone bead onto the wire. Wrap around about half way and then add another bead. |
 |
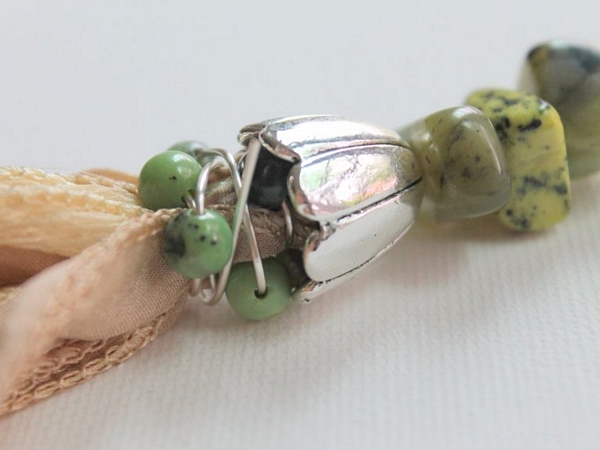 |
| Continue wrapping around and adding beads for a total of 6 beads. Keep the wraps close to the bottom of the bead cap and stagger the beads. I was mostly wrapping the wire over itself in a loose manner. |
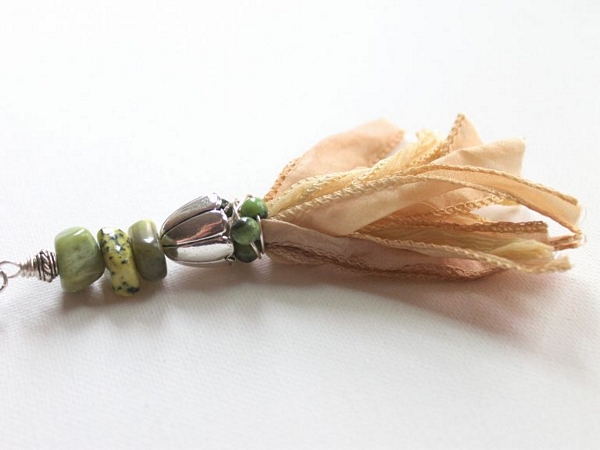 |
| Wrap the end of the wire around and back up so it is under the bead cap. Make sure the end is not poking out and that the wire is secure. |
 |
Ideas to further customize the tassel:
|
 Loading... Please wait...