Categories
Company Info
Inspiration & More
Boho Bracelet Tutorial
Tutorial by Melanie Artz
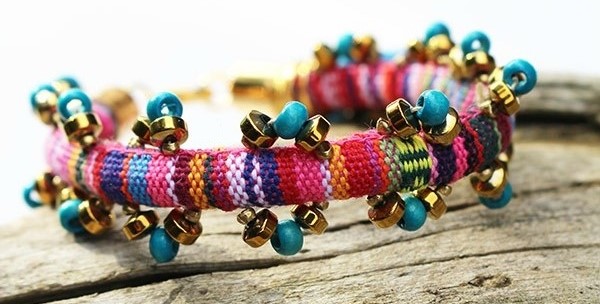
| Here’s a fun tutorial for you to create the perfect Boho style bracelet that's a great addition to any wardrobe. |
 |
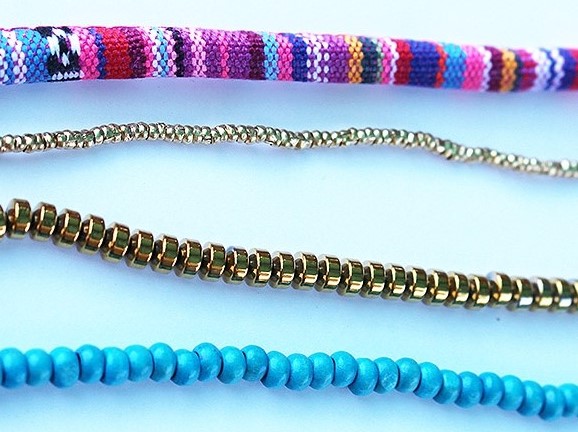
Suggested Tools and Materials:
|
 |
|
Step 1: Begin by cutting a piece of thread at least 36″ in length. Knot the end of the thread. Thread the needle. Make sure as you work, to carefully keep the thread from getting tangled. Step 2: Cut the piece of cording to 7″. Keep in mind if you have a larger wrist you will have to cut the cording a little bit longer. The total measurement for the bracelet is 7.5″. This includes the end caps, jump rings, and lobster claw clasp. Step 3: Take the needle and sew up through the center of your cording and come out the side. Then you can start the beading process. |
 |
|
Step 4: Melanie created a pattern with the beads using a small Brass Ethiopian Bead followed by a Brass Hematite Bead, Turquoise Wooden Bead, another Brass Hematite Bead, and ending with a small Brass Ethiopian Bead as shown above. Step 5: When sewing, make sure to leave the same amount of space between the bead sets as you create your pattern. |
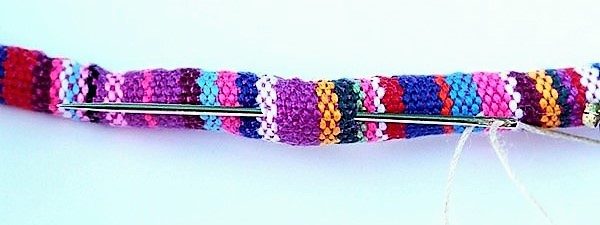 |
| Step 6: Repeat this process until the entire side of cording has been beaded. Repeat this process on the other side as well, making sure to equally space your beads as you did on the other side. |
 |
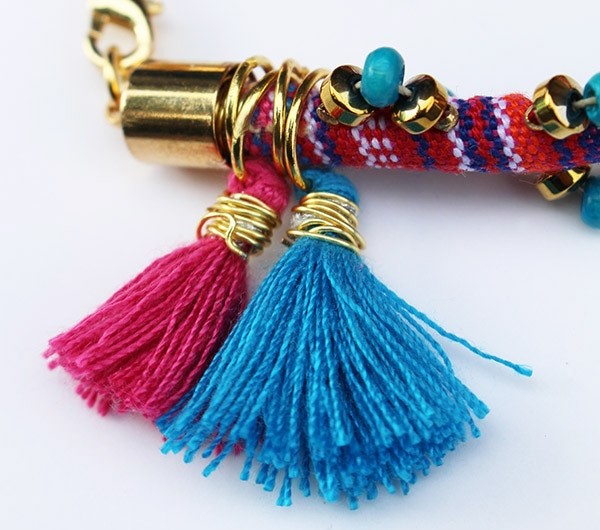
| Step 7: Melanie also attached mini tassels to the end of my bracelet and wrapped gold wire around the tassel after threading the larger jump rings through the tassel. She also added a few extra jump rings before gluing on the end caps. This entire step is optional, but it adds for a nice detail to your bracelet! |
 |
|
Step 8: Using the E-6000 glue, glue the end caps to each end. Let this sit for a couple of hours or over night to ensure that the cording is really secured to the end cap. Step 9: Open up the both jump rings and attach them to both ends of the end cap. Before closing one jump ring, attach the lobster claw clasp, and then close. |
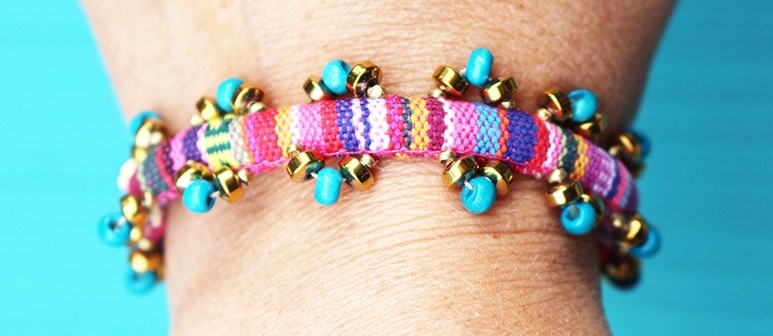 |
| There you have it! It’s so fun and cheery. Enjoy your fun DIY Boho Bracelet! |
 Loading... Please wait...